We are not totally done - but are you ever if you own a home?
We still have some drywall touch up to do and we are still unpacking. A new baby will do that to you!
Kitchen

We built this space to be as friendly as possible for guests. The galley is over 4 and 1/2 feet wide which is enough to hang out and not feel squeezed. The knives on the wall say we are a no play kitchen - we mean business about out cooking. Pot rack is our favorite piece and super easy to maintain. The bar is a bit taller than standard to keep the kids from reaching over to the hot stove while they eat breakfast.

This space is so much better opened up. Notice the pantry in the corner - it is two wall cabinets with a dummy space to put the switch in a easy to reach area.

The wonderful view out the window. Makes cooking a great adventure.

We went with the higher end routed finish. In a house like this you can't go cheap on the counter top and the finishes.

Love the extra outlets everywhere.

So it has a bit of the drywall dust from sanding today but the wood floor is amazing. We kept all the holes and divots which only show up when you throw drywall dust on them. This wood is almost 150 years old. Just amazing to walk on every morning.

Oil rubbed everything.

Yes we do the dishes and yes we have under cabinet lighting coming. Also adding lighting to the top glass cabinets.
Rear Hall

Recycled doors from the house. Both of these were transplanted from upstairs and used on the first floor. They are crying for their turn at being painted.

Painted trim on the left and not done on the right. We had a couple of left over cabinets and installed them in this corner to hold all the first floor cleaning supplies. The hallways floor is due for a sanding and restoration. Since it gets the most traffic we are going to wait until all other work is done before finishing the front hallway.

Couldn't save the floor so we made a new one - sorry about the drywall dust.
Katie's office

Katie's office. Installing the trim this week but it is such a joy to be in this space. This same picture was taken on the first post. Such a drastic improvement.


Different angle from the door.

Closer shot at the multi species floor. The towel under the door is for the air gap until the trim is installed this week. Got to keep that energy in!

Custom ordered from England. Super high efficiency radiators.
1st Floor bath

Doing the final sanding and touch up on the ceiling patch after we installed the radiators. The rear wall is all glass tile. Katie hates the paint color so we will repaint that this winter.

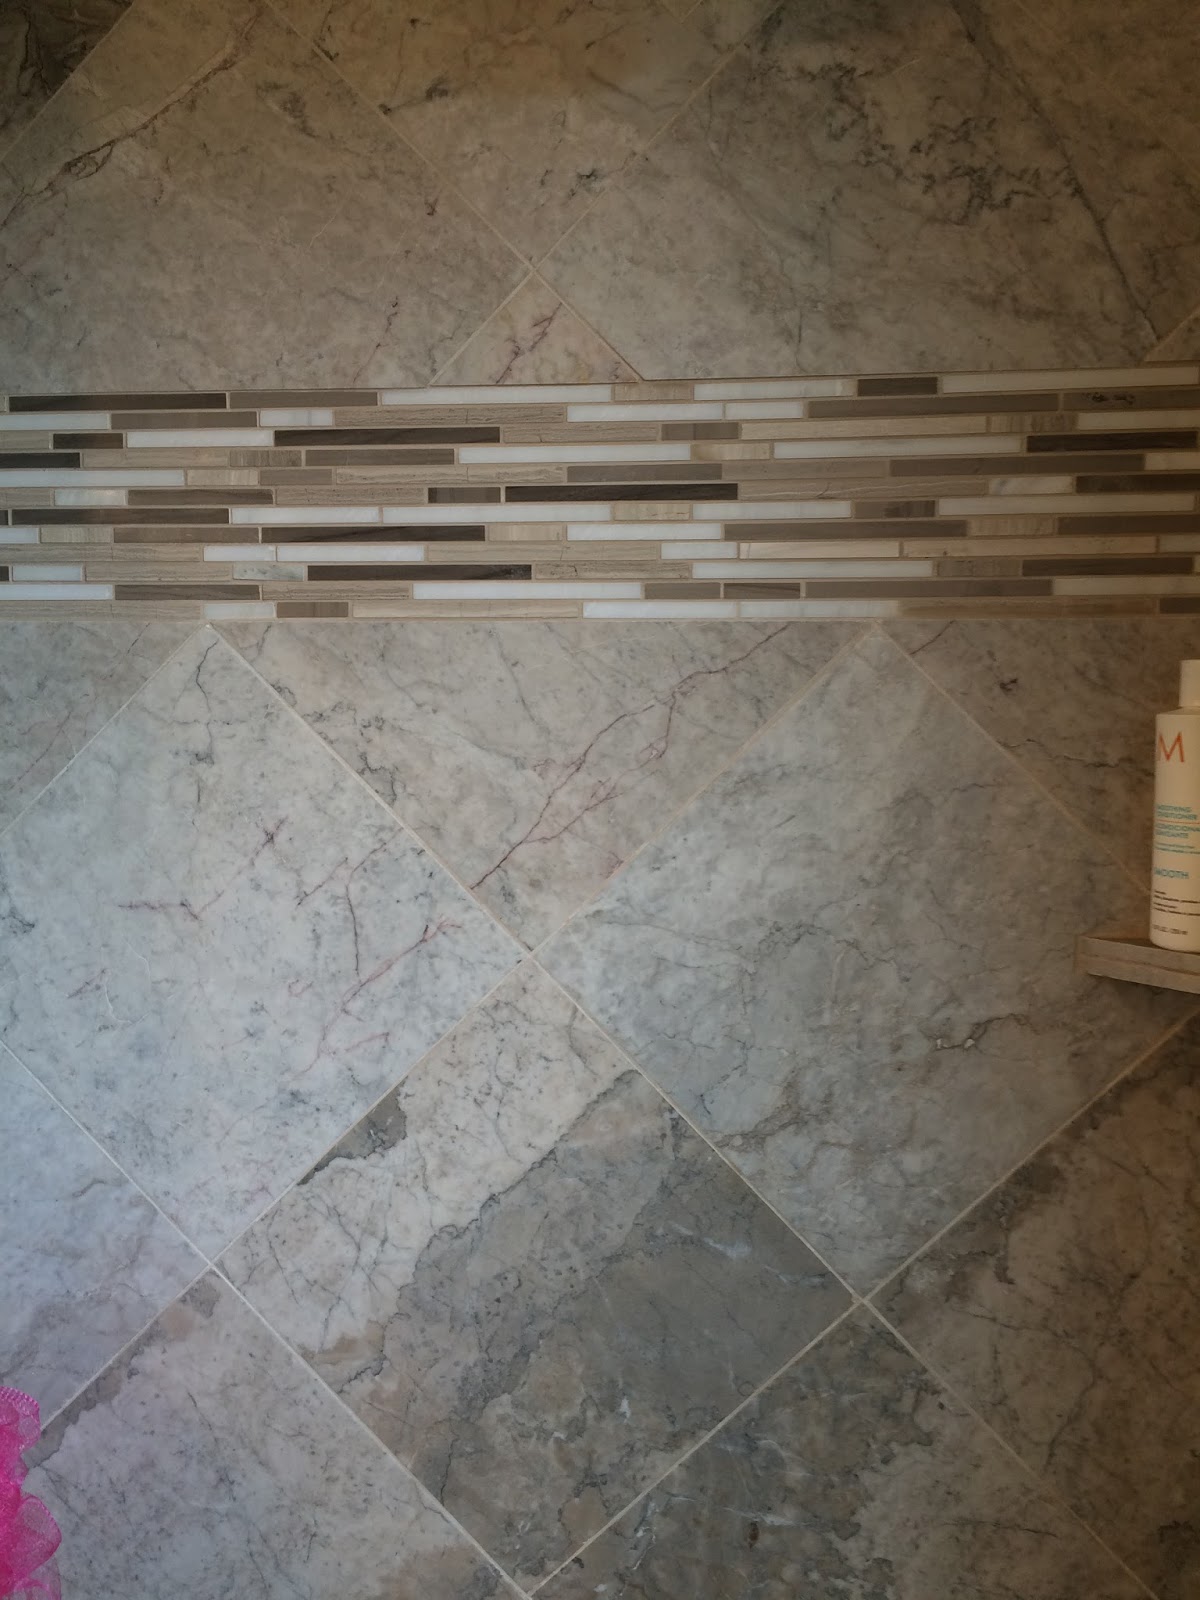
The floor continuing into the bathroom. I love that blonde center with the gunstock oak on the outside.

Amazing what you find on Craig's list. Yes that is real marble. It even has a pull out step for the kids.
The Parlor

We sent this off to be restored and it was simply amazing what returned. Pictures could never do this piece justice. It was built around the late 1800s and is original to the house most likely from Italy.

Restored radiator cover

Amazon.com - just totally fits the house.

Need to hang a few pictures and touch the paint up on the repaired molded plaster crown and the fire place but it is starting to come together!

Another angle. Who didn't put that pillow back properly...

Some close ups on the final stages of the floor. There are 6 different types of wood that make up the parlor floor. Oak is on the far left, then hickory, cherry, hickory again, mahogany, and then hickory. We think we will go with the cherry in the square of the ribbon. We arn't sure which is why I haven't done it yet.

The corners. Need to finish the flourish in the corners. We are finalizing a design this fall.

Around the fireplace.
The Dining Room

Around the dining room. Need to get rid of that radiator that leaks. We installed the updated one once we found out the older one has a crack that isn't worth fixing.

Sadly we said goodbye to the chicken wire. In the next few weeks, glass shelves will be installed and down lighting will illuminate the whole space. We will probably acid burn a design in the glass once we know what to put. Drywall patching all over. Thank the movers who nicked up the house.

One of the downstairs lights in the hall.
2nd Floor Hall Bath

This is the kid's bath. I'm surprised it was this clean when I walked in today. #blessed.

So we frosted the window on the bottom but kept the light coming in the top and the view to nature. We are the highest house in the area and the 2nd floor is about a 5th floor to the houses around us. Just amazing to see the street.

Funny story. We thought the inlay tile would be the same thickness as the subway once we laid it on the wall - nope. So we put a rope boarder around the inlay to hide the difference. I really love how it turned out.

No space on the floor for a radiator? Use the wall! Now hot towels are the norm around here.
Guest Bedroom

What can I say - it's a guest bedroom. Oh the floors rock :)
Master Bathroom

So here is a shot from the Master Bedroom to the Master Bath. That door used to be a train wreck - we made it into a passage that invites you into a safe space. No children allowed.

Closeup of the floor. The trim still needs a bit of paint and chalk.

Still need to put the crystals on the chandelier. The one that is hanging is a test to see how much we will hit our heads. I hate pulling up a chandelier with all the crystals on it. Radiator on the wall and the marble toilet base are big highlights that contrast the restoration of the marble and the modern sleek look. LOVE the exposed brick and massive shower. The soaker tub is worth its weight - and it is heavy!

We took the doors off today to install the kick plates for the cabinets. This is a sweet spot in the morning to get ready for the day.

A better shot of the radiator. Notice my clothes are sorted by color? It's because I'm color blind and my wife makes it easy for me to pick what goes with what. :)

Marble from North Carolina driven up and designed to let as much of the outside world into the bathroom as possible.

Closeup of the colors.
I just love the marble from North Carolina.

We almost had a plumber destroy this base. Notice the push button duel flush option. One of many energy saving features in this 1875.
You can't tell but the space to the right used to be the door way to the old laundry room. Now it holds a light switch. These are the rear steps to the kitchen.
The Hall

Laundry room with a half on the left, full on the right. The doors with the transoms were swapped to make the doors open to the middle wall. The door on the left came from the old laundry room and the door on the right was the former door on the left. Got it?
Laundry Room

Who wants to walk to the basement from the second floor? Not us. Folding table and fun appliances make this easy chore time. Notice the doors are revered to open to the outside. This was NO small task but it cut the plumbing budget by several hundred dollars to keep a single plumbing wall going.
The floor - it looks like wood but it's not. It's tile, laid carefully to make it look like plank. Looks historic but cleans up water easy!

Wider view. Hanging bar super standard.
The Library

We are finishing up the second level of the bookcase this month as I have WAY more books than space. Pictures need to be hung but what an amazing space. For those who love trivia - that picture on the mantle is a shot of Duke Divinity School where I graduated and hung in the Washing Duke Hotel for over 50 years before they donated it to a thrift store where I rescued it.
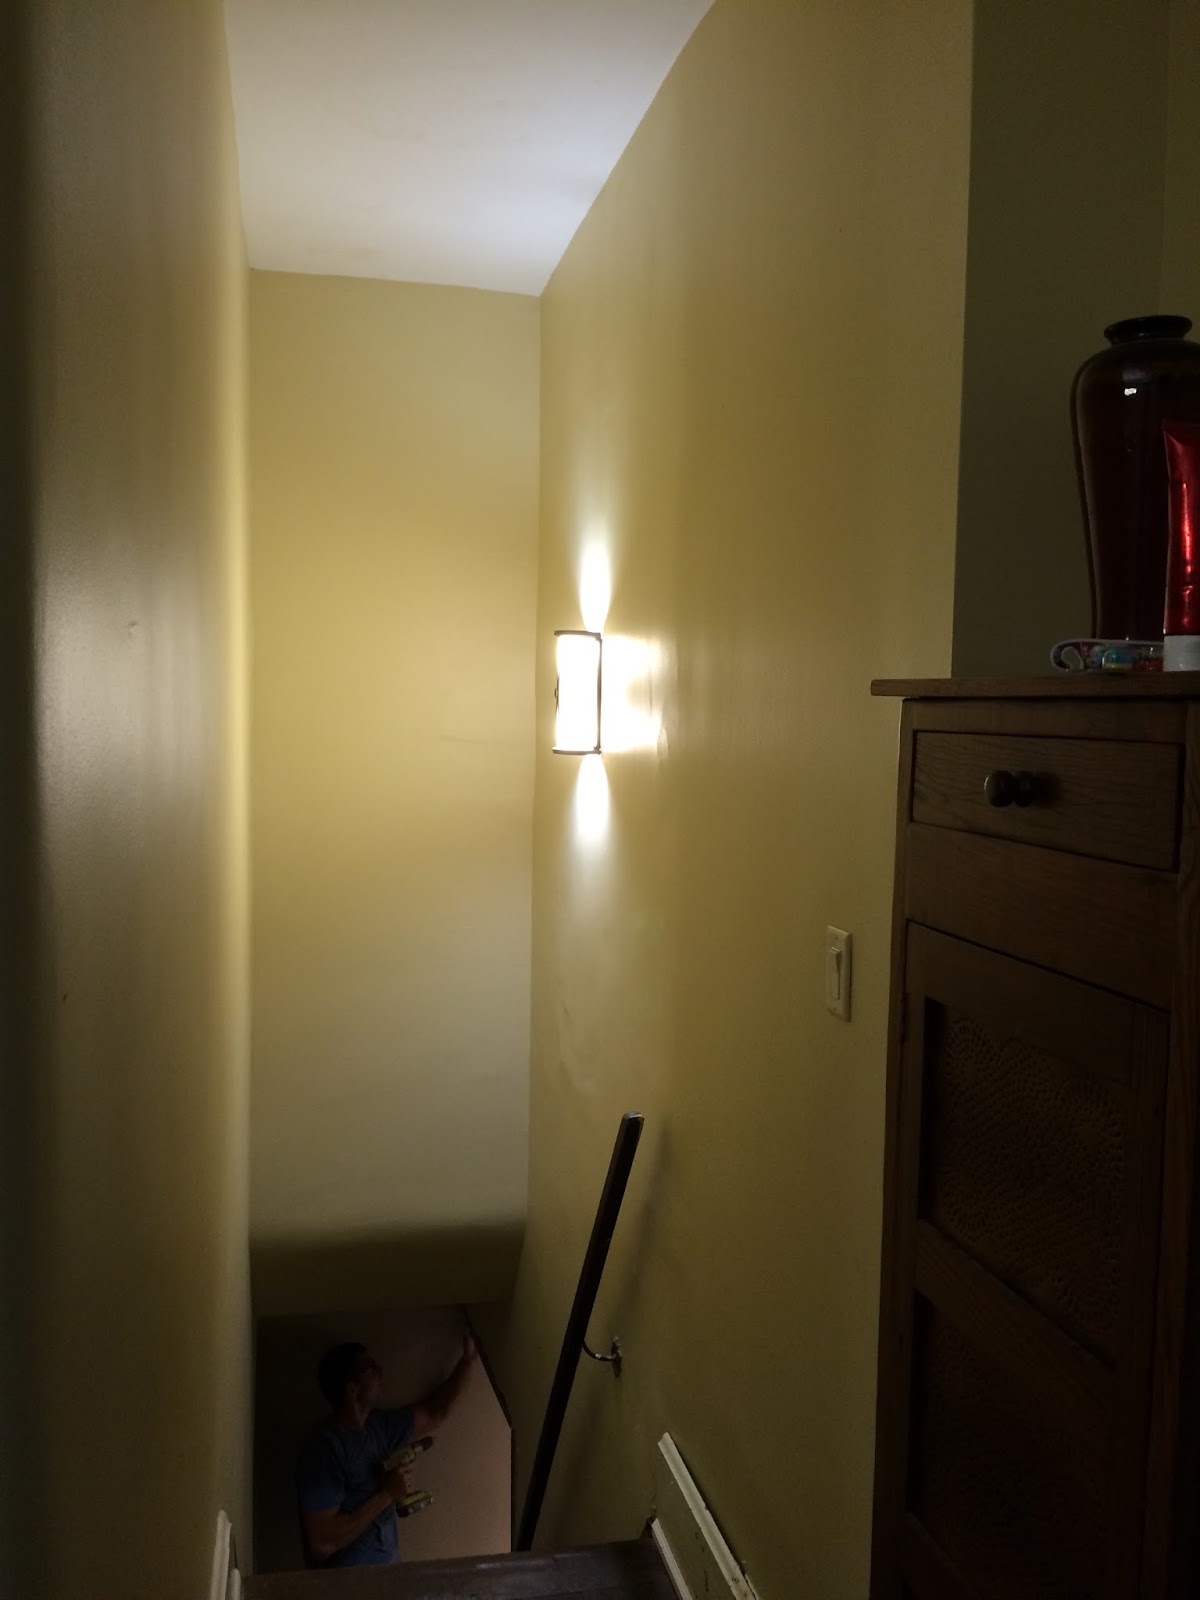
The Stairs

They still need a piece of trim, a paint job and varnish. What you can't see is they have been completely dismantled and rebuilt one rung at time. All of the trim was removed and put back. This took weeks to do 3 stories of rail and spindle.
HVAC

So I'm from the south. We need air conditioning. We installed 2 of them. One even sits on our roof to save on the copper line we had to run. That was a fun day lifting that up two floors. Combined with our insulation we should be in great shape in the coming years.
Technology

Well it can't be a house that I live in without some cool gadgets. We have two Nest thermostat systems that control the two HVAC units (basement and first floor, second and third floor). This lowers our bill by almost 60% compared to just running the units on their own.
We don't have keys. Everything is digital. It requires codes to get in and the whole system is controlled by a central hub. I unlock my house, turn on the AC and turn on my lights from the corner as I pull up by simply hitting a button on my phone. At night I can check all 6 entrances to the house to make sure they are locked and send a command to them if they are not. If you think this is expensive it's not. The discount on my insurance alone pays for the monthly monitoring fee.
Oh and if someone breaks in and smashes my panel, the cellular component sends a signal to the police immediately. I don't know how else to control a house this big.
The Outside

I could spend a lot of time talking about the process of redoing and restoring the exterior. I can say this much, we scrapped as much of the paint off and used a superior product by Sherwin Williams called peal bond to seal the house and essentially "glue" the remaining paint to the house so it will never chip. 2 tops coats later and we should have a 30 year paint job.

Body has its two coats and the trim is starting to come together.

A close up of the detail painting that is starting to take shape with the "buckles" on the window.
Fabulous!
ReplyDeleteFabulous!
ReplyDelete